Lighting a wood-fired pizza oven might seem intimidating at first, but once you know the process, it becomes a satisfying ritual that sets the stage for delicious, flame-cooked meals. Whether you’re firing up a traditional dome oven or using a compact model like the Ooni Karu, knowing how to light a wood pizza oven properly ensures consistent heat, minimal smoke, and perfect pizza.
In this guide, we’ll walk you through the process using essential tools like a wood fire starter, Ooni wood chunks, and smart fire-building techniques designed for UK weather and oven types.
Top Pizza Oven Starters
Why Good Fire Building Matters
A properly lit fire means:
- Faster preheat times
- Less smoke and soot
- More consistent cooking temperatures
- Reduced ash buildup
Whether you’re baking Neapolitan pizza, roasting vegetables, or making sourdough, it all starts with a solid fire foundation.
What You’ll Need
Before you start, gather your fire-building essentials:
Wood Fire Tools:
- Kiln-dried kindling (silver birch or softwood for ignition)
- Hardwood logs or chunks (oak, ash, or beech)
- Natural firelighter or wood fire starter (no chemicals or paraffin)
- Long matches or a gas blowtorch
- Infrared thermometer (to monitor pizza stone temp)
For smaller ovens like the Ooni Karu, opt for Ooni wood chunks—they’re perfectly sized for compact fireboxes and burn efficiently with minimal smoke.
Step-by-Step: How to Light a Wood Pizza Oven
1. Clean Out Ash and Debris
Start with a clean fire bed. Use a brush or metal scoop to remove old ash or burnt wood. This improves airflow and helps the fire breathe.
2. Place Your Kindling
In the centre of the oven floor or firebox:
- Stack small pieces of kiln-dried kindling in a criss-cross pattern
- Place a natural fire starter or two beneath the stack
- Ensure there’s plenty of space for air to circulate
3. Light the Fire
Use long matches or a blowtorch to ignite the fire starter. Allow the kindling to catch and burn for 5–10 minutes, gradually heating the oven interior.
Top Tip: Keep the oven door slightly ajar and the chimney vent open to boost airflow during this stage.
4. Add Hardwood Gradually
Once your kindling is fully aflame:
- Add one or two hardwood chunks or logs at a time
- Use seasoned or Ooni wood chunks for best results
- Position wood towards the back or side (depending on oven design)
Don’t overload the fire—steady growth leads to a hotter, cleaner flame.
5. Maintain the Fire
Continue feeding the fire every 10–15 minutes as needed. You’re aiming for:
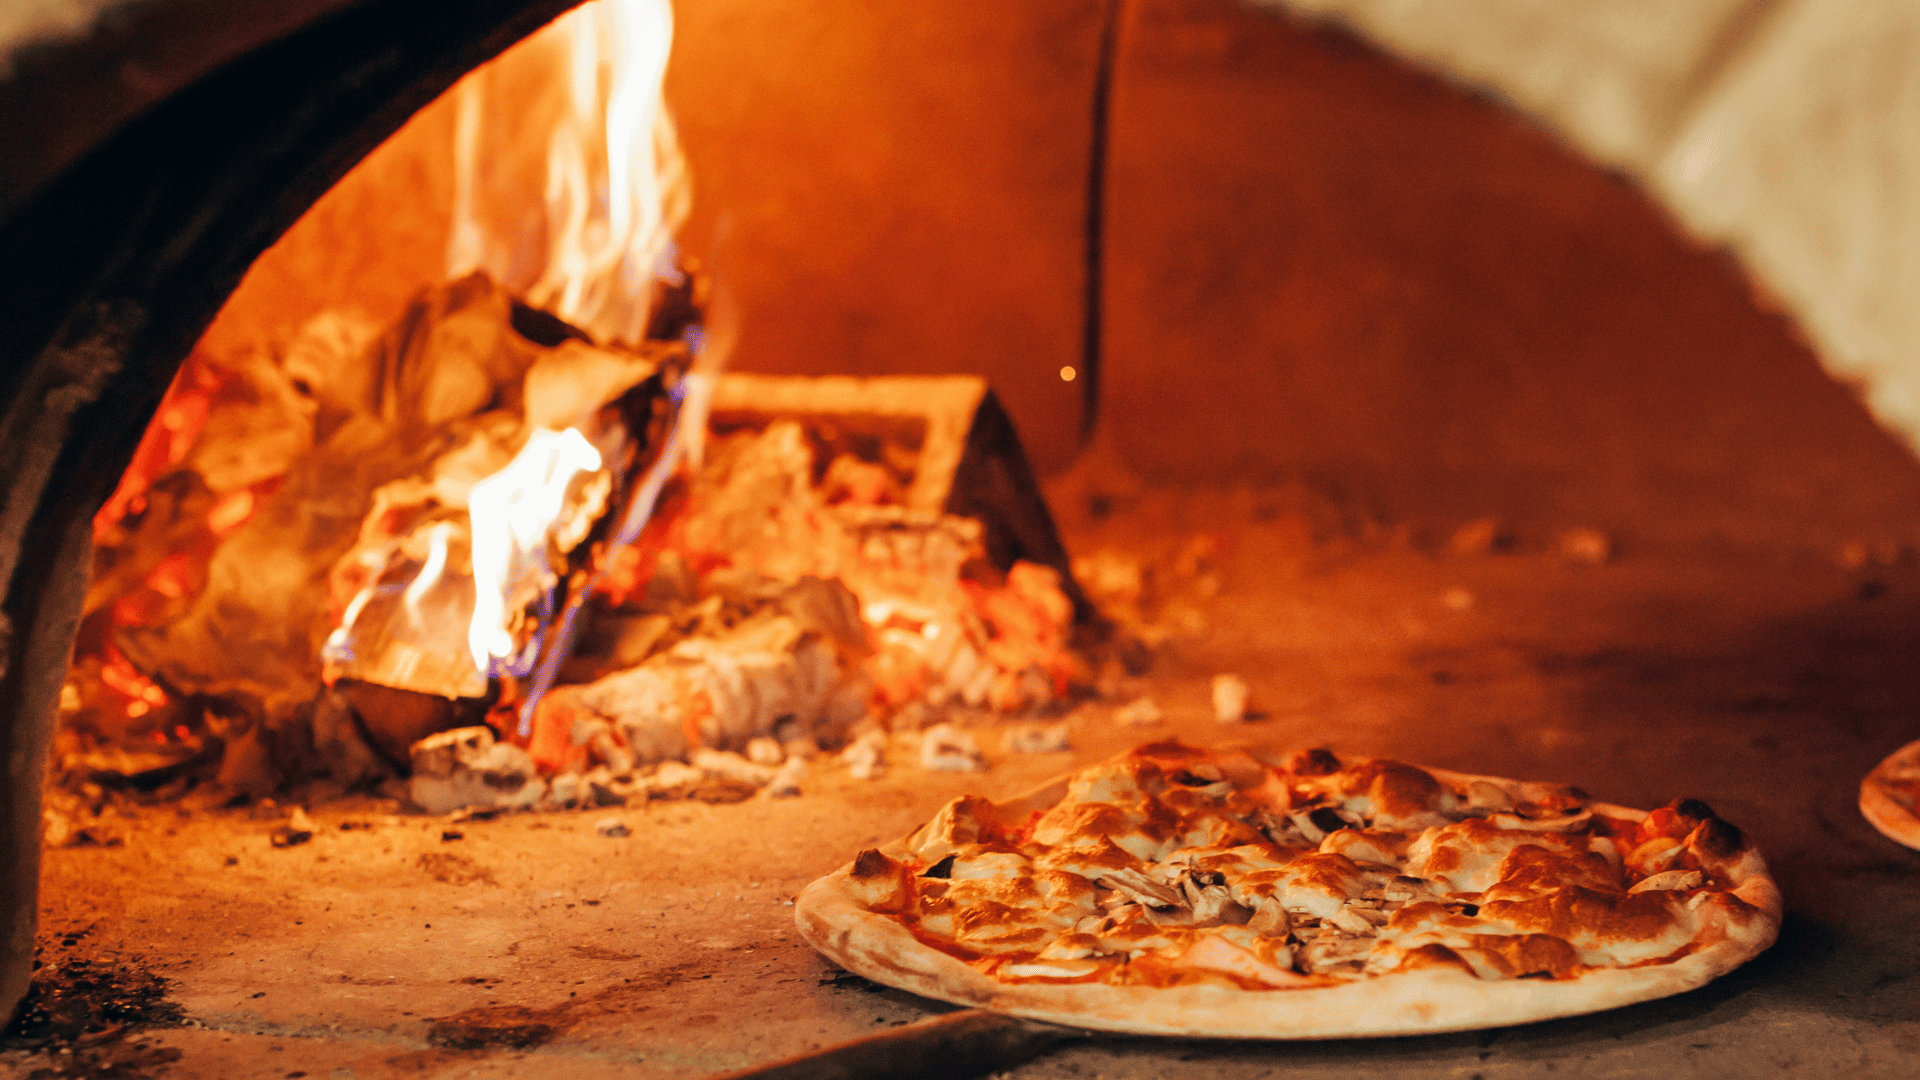
- Flame licking across the oven ceiling
- A clean-burning fire with minimal smoke
- Ash-white stone base (a sign it’s ready)
Fire Building for Pizza – Tips for Success
Use Kiln-Dried Hardwood
Moist wood creates excess smoke and doesn’t burn hot enough. Look for UK-sourced, kiln-dried logs with under 20% moisture content.
Monitor Pizza Stone Temp
Use an infrared thermometer to check the stone. You want:
- Neapolitan-style pizza: 420–480°C
- Thin-crust pizza: 300–350°C
- Thicker bakes or bread: 220–280°C
Control Airflow
- More oxygen = hotter fire
- Adjust vents and door position for better control
- Close vents slightly once cooking begins to retain heat
Fire-Safe Positioning
Never place your oven under low-hanging branches or near flammable surfaces. Always use heatproof bases or stands when on decking or patios.
How to Light an Ooni Karu with Wood
For Ooni users, follow these brand-specific steps:
- Load Ooni wood chunks in the fuel tray
- Place fire starter under the tray
- Ignite with a match or blowtorch
- Add additional wood chunks once the flame is steady
- Let preheat for 15–20 minutes until stone reaches 450°C+
Tip: Use Ooni’s official hardwood chunks for reliable, even burning with low smoke.
Final Thoughts
Mastering how to light a wood pizza oven unlocks the full potential of your outdoor cooking setup. Whether you’re using a classic dome or a compact model like Ooni, proper fire-building technique ensures hotter temperatures, cleaner burns, and tastier results.
With the right wood fire starter, quality hardwood fuel, and steady attention, you’ll be turning out pizzeria-quality pizzas from your own garden oven in no time.


